Welcome to the latest installment of my Flair series, in which we’ve delved into the world of portable handheld espresso makers. In my previous article, I reviewed my extraordinary new Flair Pro-2, an espresso aficionado’s dream, offering unparalleled features for both the home and on-the-go barista.
Today I present the Flair Neo I purchased, an entry-level model in the Flair range. Among the diverse range of Flair models, the Flair Neo sits at the entry-level, perfect for newcomers looking to create delicious espresso on a budget. Its capabilities are similar to Nanopresso’s, offering a gateway to the world of espresso art.
Flair Neo coffee maker components
If you are familiar with the Flair models, you will notice similarities, albeit with some slight differences. Given their economical nature, slight variations in materials help maintain affordability while ensuring a quality product.
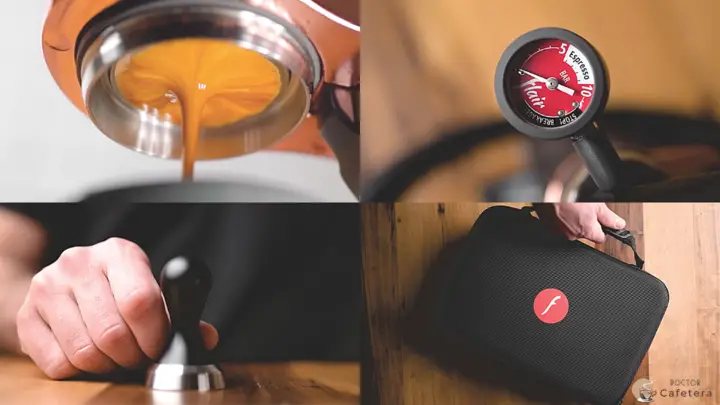
As you will see in the image below, the Flair Neo arrives perfectly packaged in a box, although it does not include the case found with other models. But don’t worry; the case can be purchased separately.

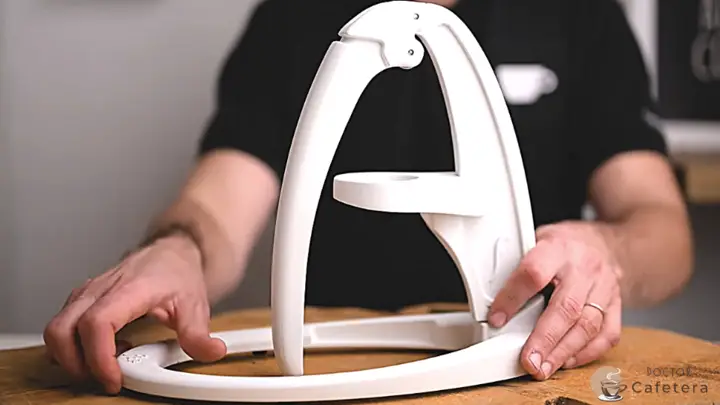
As usual, the machine features Flair’s distinctive shaped base and body. These components can be securely attached to a table using the screw provided, which improves stability, although it is important to note that this step is not essential for operation.
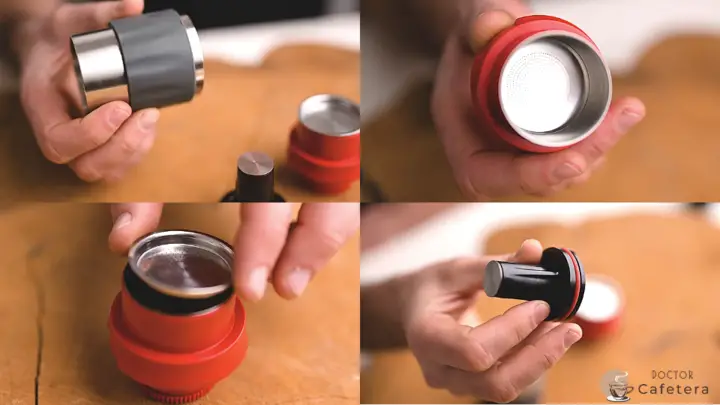
Moving on, let’s take a closer look at the coffee group, which consists of:
- A stainless steel cylinder for water containment.
- A filter holder for coffee placement.
- A dispersion screen for water distribution.
- A piston positioned above the cylinder exerts pressure when the lever is lowered.
Assembling the Flair Neo for the first time was a real pleasure that reminded me of the Legos of my childhood.
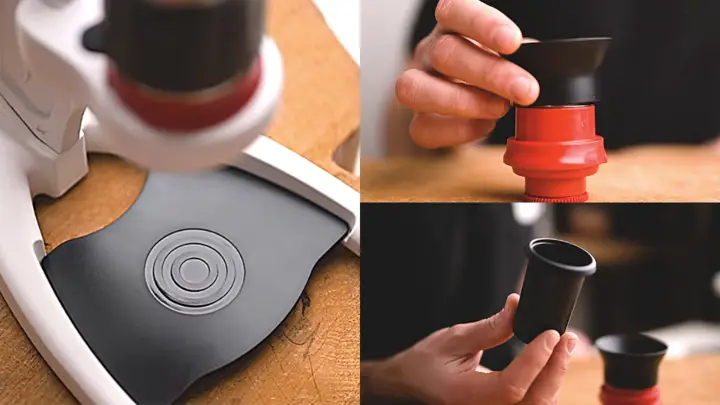
In addition, a simple drip tray and accessories, such as a funnel for coffee placement in the filter holder and a compact dosing cup, are included.
Operation of the Flair Neo coffee maker
In this section, I’ll guide you through a step-by-step process to demonstrate how the coffee maker operates. Following that, I’ll delve into crucial considerations to bear in mind before using the machine.
Step by step to prepare coffee with the Flair Neo coffee maker
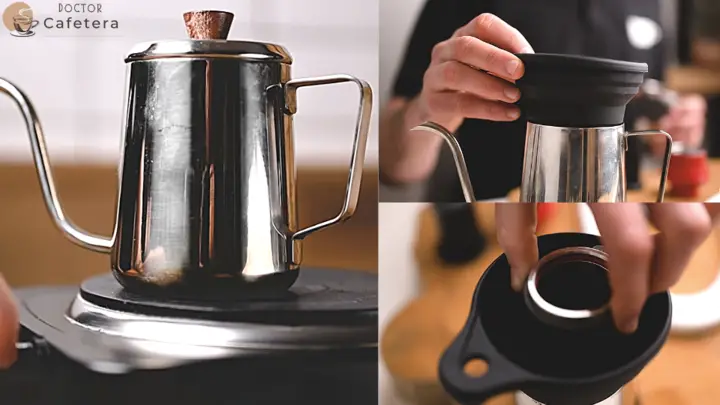
- Start by heating the coffee group to maintain the extraction temperature. Use steam from the carafe by boiling water. You can suspend it with a silicone funnel (as I did in the picture below) or immerse it in boiling water.
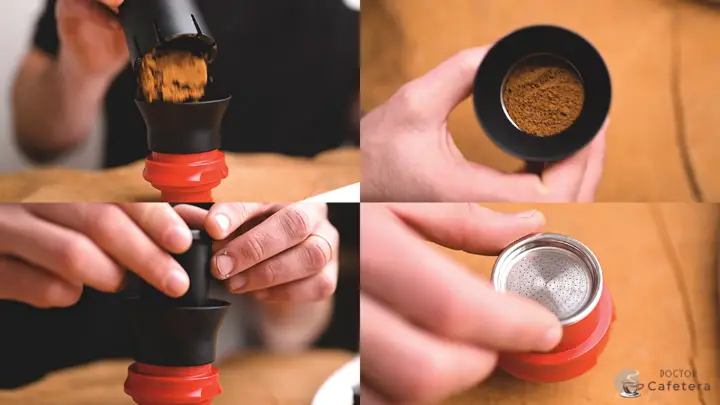
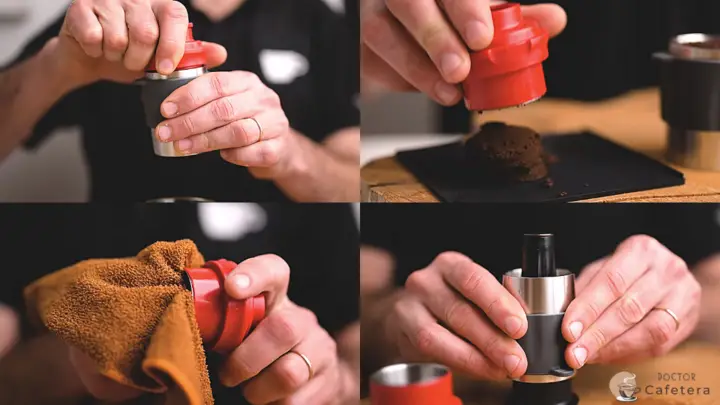
2. Use a fine-grind coffee, not as fine as a typical espresso grind. Place 12 to 18 grams of coffee in the funnel, distribute it, and gently tap it.
3. Compact the coffee slightly using the dosing cup until it’s immobile. Add the dispersion screen and place it on the base.
4. Once we have the cylinder hot enough, we attach it to the filter holder, and we are going to place the water up to the line that we see marked inside; with this, we make sure that once we put the piston, there is no air left inside.

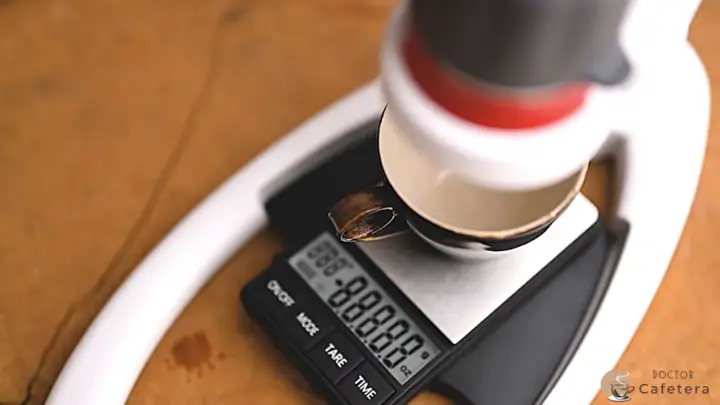
5. In the tray, we put a scale and a cup taring to zero, and are ready to start pressing.
6. We lower the lever, and we will quickly feel resistance. We constantly press until we reach the amount of espresso we want, look for approximately 25 to 30 seconds of extraction, and have our espresso ready.
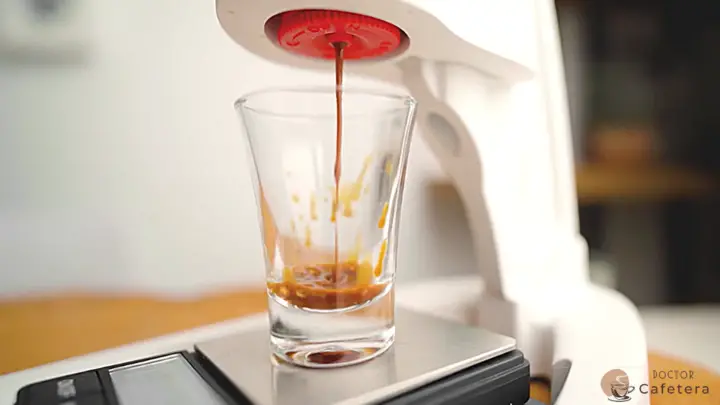
All that remains is to stir and enjoy it on its own or use it as a base to prepare other beverages such as Flat White, cappuccino, long black, etc.
The main feature of the Flair Neo coffee maker
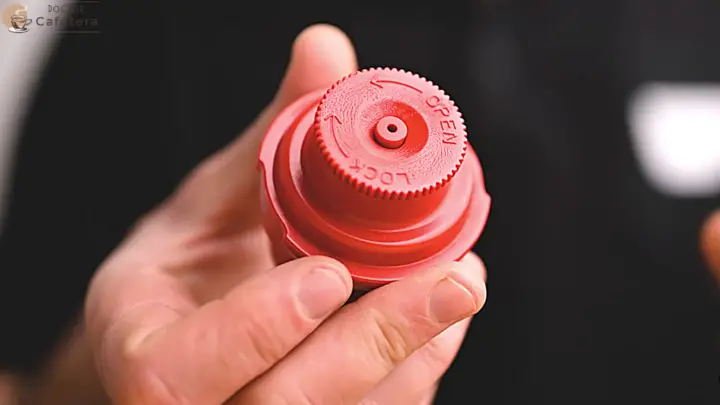
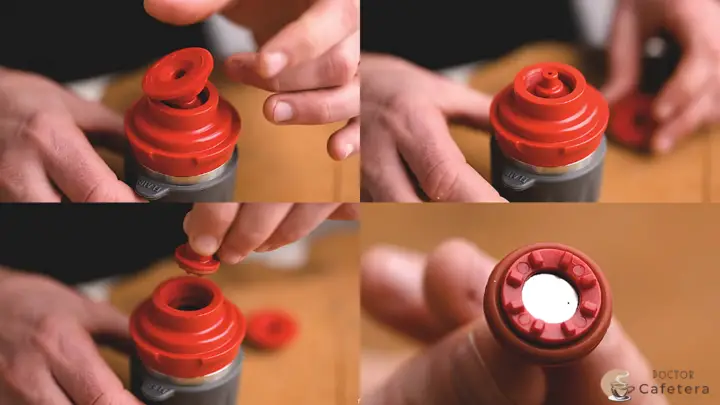
Its unique “Flow control” filter holder is at the heart of the Flair Neo. This pressurized holder features a specialized nozzle that regulates water flow through the coffee grounds, ensuring optimal pressure and extraction time.
Primarily designed for specific scenarios, this innovative filter holder comes with tailored benefits, making it a preferred choice for certain preferences and requirements.
Who do I recommend this coffee maker for?
This is a great choice for home espresso lovers. It outperforms common alternatives such as capsule machines or Moka pots, offering an authentic espresso experience.
If you use pre-ground coffee or don’t have a quality grinder, the portafilter compensates for the uneven grinds of blade grinders. It is also suitable for beginners, making it ideal for those new to espresso.
Unlike standard portafilters, the Flair Neo allows you to experiment with various variables, reducing dependence on grind consistency. As your skill increases, you can switch to a standard portafilter.
The most remarkable thing about Flair is its adaptability. You can start with a Neo and expand with accessories such as a non-pressurized portafilter, pressure gauge, tamper, steel tray, and case, all to enhance your experience as you become an espresso lover.
Differences between the Flair Neo and other electric espresso machines
The difference between buying a Neo and some other cheap electric espresso machine, which comes with a pressurized filter, is precisely our control over the other variables.
In cheap electric machines like the Delonghi Dedica, the pressure is always wrong or does not reach or pass what we want. The same happens with the water temperature, which does not remain constant, and we cannot play much with the coffee dose.
With the Neo, we can do all this, and then if we upgrade it with the accessories, we have a machine that produces espresso at a professional level.
The Flair Neo outperforms in features many machines more than 10 times its price, so it pays to have it. Besides, it does not require electricity; we can take it with us on a trip or to the office and prepare a delicious coffee wherever we go.
Differences between the Flair Neo and the Flair Pro-2 coffee makers
The resulting espresso profiles differ markedly when comparing my new Flair Neo to the Flair Pro-2. The Flair Pro-2 allows me to brew espressos with vibrant notes and a velvety body (espressos worthy of a coffee shop).
However, achieving this requires a deep understanding of espresso principles and a significant investment in the coffee maker and a high-quality grinder to ensure a uniform grind.
In contrast, this Flair Neo, equipped with its pressurized filter, delivers a satisfying and flavorful espresso, especially when combined with evenly ground coffee. However, it is important to note that the Neo does not reach the caliber of a professional espresso machine without additional components.
Cleaning the Flair Neo coffee maker
Finally, I should mention that cleaning this machine, like all models, is quite simple.
After purging all the water inside the coffee group, we remove it from the base. To remove the filter holder, we turn it upside down and separate it from the cylinder, where we will be left with the screen and perhaps a little coffee.
Now we discard the coffee pod with a few taps, and if we want to make another espresso, we need to wipe the filter holder and the screen with a microfiber cloth or paper towel, remove the piston from the cylinder and start over. But if you don’t want to use it immediately, wash all the parts with water without soap or detergent and dry everything well.
The good thing about this pressurized filter is that it is removable for cleaning, and you have to clean it well after each use so that it does not clog that small hole. If you notice it getting clogged, let it soak in vinegar for about 20 minutes, then give it a good rinse. You can also buy a replacement spout if it becomes permanently clogged.
The Flair Neo seems to me to be an excellent option for many who want to enter the world of espresso without spending a lot of money. They can learn a lot and improve as time goes by.