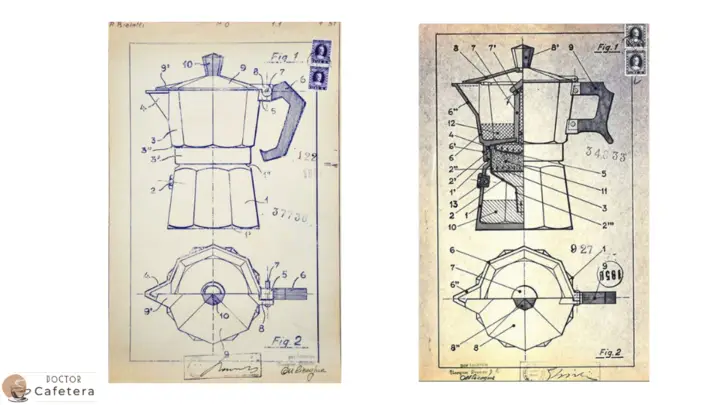
The moka pot was invented 90 years ago in Italy by Alfonso Bialetti, an Italian engineer who based his original coffee-making design on the functioning of early washing machines.
The reality is that moka pots have changed very little from the original concept. Only more durable materials are used, transitioning from simple aluminum to stainless steel and much more robust aluminum alloys. This includes improved safety valves, gaskets, and filters.
While the moka pot operates very simply, it can also encounter operational issues, which I will resolve in this straightforward and helpful guide.
Moka pot not brewing coffee
Any brand and model of moka pot can face this issue, which can manifest suddenly, intermittently, or progressively. Each scenario may be due to different causes, which will be detailed below.
Problem: After filling the water reservoir, placing ground coffee in the funnel, and heating the moka pot, you notice that steam starts coming out of the coffee spout, and you hear noises, but the coffee is not brewed or does very little.
Cause: For water in the moka pot’s boiler to pass through the coffee, a specific temperature (+212°F) and pressure (around 2 bars) must be created, allowing water to turn into vapor and rise, extracting the coffee on its way. One or both variables are unmet if the water doesn’t brew the coffee.
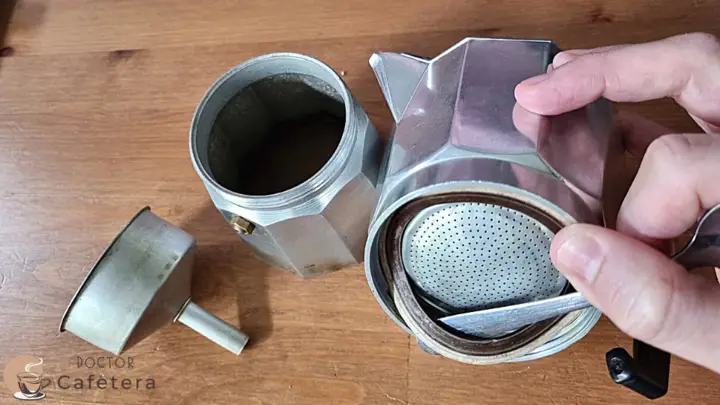
Solution: Once you know why the coffee isn’t reaching the coffee in your moka pot, you must determine which component is causing the problem. I’ll summarize the components that influence the water vapor creation process for you:
1. Rubber gasket of the filter
Check that the filter’s rubber gasket is in good condition and clean; it should not be dry or worn out. If it’s in bad shape, the pressure to force water through the ground coffee won’t be generated. Replacing the silicone gasket regularly is advisable as part of a maintenance routine.

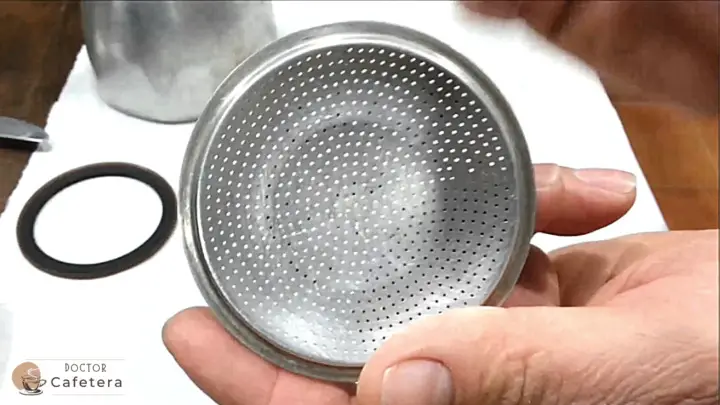
2. Filter plate
Ensure that the filter plate is clean and free from residues. If there are coffee residues, they won’t allow you to seal the filter properly when placing it on the boiler, often leading to pressure leaks. Replace the filter if it’s worn out.
3. Coffee funnel
Ensure the coffee funnel fits perfectly in the lower chamber and is not deformed or worn at the edges. If it’s in poor condition, you should replace it.
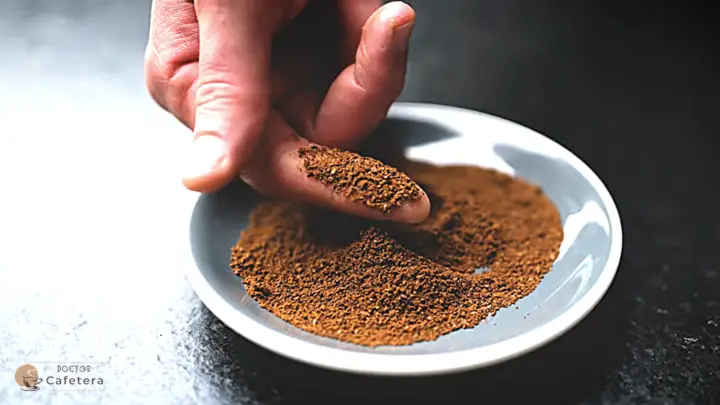
4. Coffee preparation
Under no circumstances should you tamp down the ground coffee in the funnel. Tamping and overfilling with coffee increase the pressure required for the infusion to move upward. Fill the funnel with just the right amount of coffee up to the edge without pressing down.
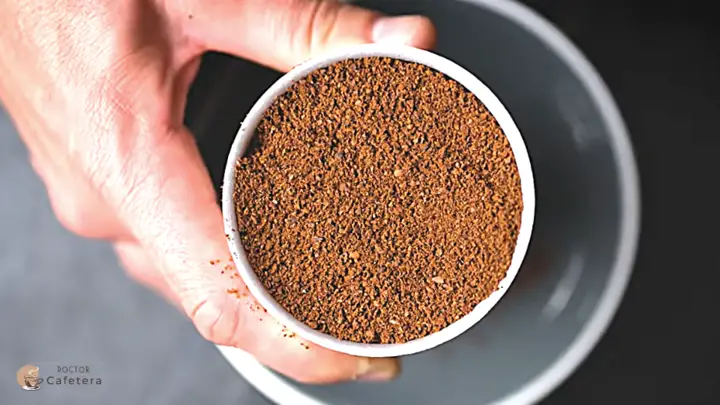
5. Coffee type
Use only ground coffee that is compatible with Moka Pots. Coffee that is ground too fine can clog the central tube, while coffee that is too coarse can clog the filter and prevent the water from brewing the coffee.
6. Correct coffee and water amounts
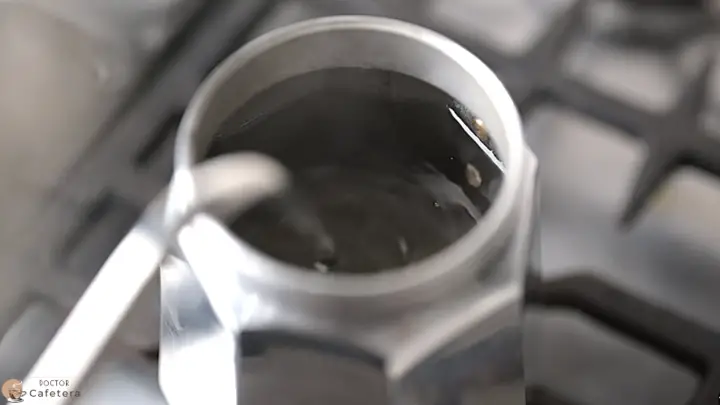
Moka pots are designed to be used with full amounts of coffee and water, and they won’t function properly if the funnel is filled with too much or too little coffee. Fill the boiler with cold water just below the safety valve.
7. Proper closure
Close and secure the Moka pot properly before each use. Sometimes, the threads can become worn, allowing some pressure to escape. If this happens, you can add a bit of PTFE tape, but it won’t be a long-term solution.
A reader of the blog left some super helpful comments about why the coffee wasn’t brewing in his Moka pot:
After many tests, he discovered that adding hot water to the boiler prevented the water from brewing the coffee in his Moka pot. Check if this also solves the problem for you, and leave a comment to help others in the same situation.
Safety valve releasing steam
The safety valve is a crucial component in your Moka pot, as it will alert you when problems arise. If you notice the safety valve regularly releasing pressurized steam, you should not overlook it, as this could indicate an obstruction in your Moka pot or a malfunction of the safety valve. To check for any obstructions, follow these steps:
- Disassemble the Moka pot, removing the rubber gasket and the flat filter. If you look toward a light source through the filter, you should be able to see light passing through the holes. If it’s dirty, clean it thoroughly.
- Clean the inside of the coffee spout at the top of your Moka pot, ensuring nothing obstructs the tube. You can use the handle of a coffee spoon wrapped in a cloth or paper towel for this purpose.
- Next, check that the funnel is not dirty, bent, or restricting the water flow.
- Lastly, there is a small piston in the center of the safety valve; move it in a circular motion to remove any obstructions inside the valve. You can use vinegar and an old toothbrush to clean this piston thoroughly.
If, after performing these actions, the safety valve continues to release steam, you must stop using your Moka pot immediately. You should request a replacement if your Moka pot is still under warranty. If the warranty has expired, you can replace the safety valve yourself.
How to replace the safety valve of a moka pot
If you suspect that the safety valve of your Moka pot is experiencing issues, the most effective solution is to replace it with a new one. These valves are affordable, although replacements may not be available for lesser-known brands.
If you can’t find a replacement valve for your Moka pot, you can always disassemble it and thoroughly clean it as if you were going to replace it.
Steps to replace or clean the safety valve
- Disassemble the Moka pot, keeping only the boiler
- Use a small wrench to unscrew the safety valve
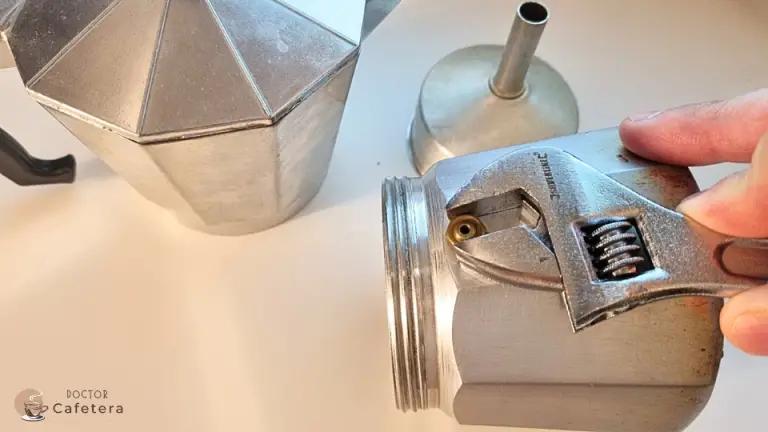
- Once it loosens, remove it with your fingers. Now, you’ll be able to see a small ball inside.
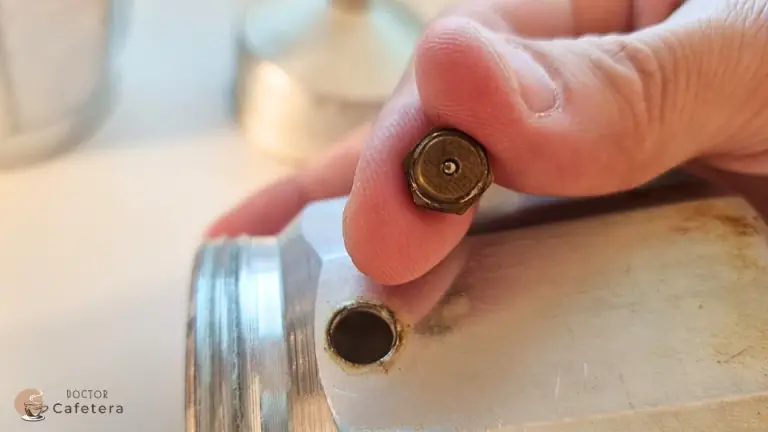
- With the valve out of the boiler, you can now perform a thorough cleaning in case the little ball gets stuck. First, soak it in vinegar for about half an hour to remove any possible limescale residue.
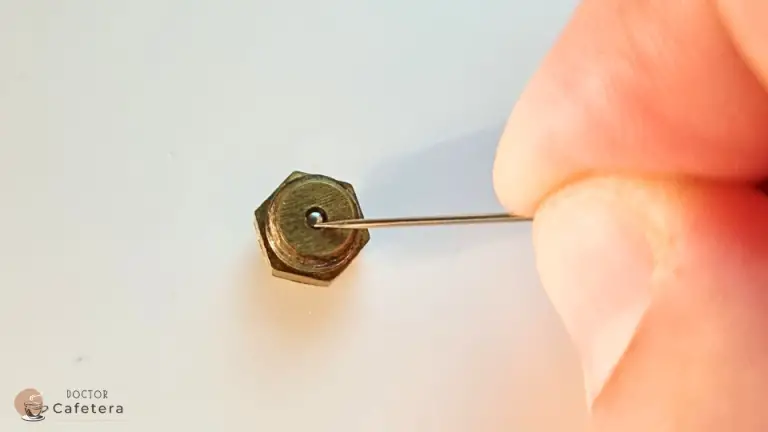
- After the vinegar soak, you can scrub it thoroughly with an old toothbrush or even gently press the little ball with a pin, but be careful not to leave anything stuck inside the cavity.
If none works, you must consider buying a new Moka pot.
The moka pot is leaking water
When your Moka pot starts dripping from the side, it’s time to replace the rubber gasket due to wear, excessive dirt, or damage. Below, I provide simple yet useful instructions to clean (or replace) the gasket of your Moka pot:
- Disassemble the moka pot.
- Locate the rubber gasket in the filter at the top of the moka pot.
- Using a tool like a butter spreader or something similar, slowly remove the rubber gasket by levering it upwards around the edges. The flat filter will also come loose.
- When you remove these parts, coffee residues accumulating inside the filter after each use will likely come out. Clean thoroughly with water and a sponge to remove all dirt.
- Reassemble the rubber gasket and the filter, then try preparing coffee again. If water continues to leak, you’ll need to replace the rubber gasket.
- Measure the size of the rubber gasket as seen in the following image (7cm interior and 8cm exterior):
- Purchase the replacement gasket with the precise size you need.
- Now, reposition the filter in place and then put the new rubber gasket around the filter. Apply some pressure with your fingers to secure it in place.
- Reassemble the moka pot.
The moka pot coffee tastes bad
There’s nothing worse than craving a good cup of coffee, waiting for it to brew, and then discovering it tastes bad. Several factors can affect the final flavor of your coffee when using a Moka pot, but first, you need to understand why it has that unpleasant taste.
Coffee can have a bad taste in two different ways. Firstly, when it’s over-extracted (which is quite common in Moka pots), it becomes bitter. Secondly, it tastes sour when under-extracted (something rarely happens in Moka pots).
1. Coffee grounds
The coffee you use for your brews should not be ground too fine, like the one used for espresso machines; it should be a bit coarser. If you use very fine grounds, you’ll over-extract the coffee, which will taste too bitter.
2. Coffee roast
Related to the previous point, darker roasts extract more easily, while lighter roasts are more challenging to extract.
If your coffee tastes too bitter, use a lighter roast; if it tastes sour, use a darker roast.
3. Brewing time
If you feel that your coffee is over-extracted (bitter taste), it’s because you’re taking too much time with the extraction. In this case, it’s recommended to add hot water to the bottom chamber instead of cold water and brew with a higher flame.
On the contrary, if your coffee tastes sour, you’re extracting too quickly. In this case, it’s better to add cold water to the bottom chamber and brew with a lower flame to slow the extraction.
Be careful not to burn the coffee!
When your coffee turns pale and bubbly, immediately remove the Moka pot from the heat to stop cooking. Leaving it on the heat could burn the extracted coffee, giving it a charcoal or ashy taste.
4. Fill the coffee funnel right to the top and water just below the safety valve
- Fill the bottom chamber with water just below the safety valve; you’ll find the fill limit that you shouldn’t exceed.
- Fill the funnel with ground coffee without pressing it down so the coffee grounds are porous and water can easily pass through.
Excessive or insufficient coffee or water can affect the final flavor of your drink.
5. Properly seal the moka pot
The top part of the Moka pot should be tightly sealed to prevent leaks. If steam escapes, the extraction will be uneven, resulting in a bad taste.
How to clean a moka pot
Proper and regular cleaning will not only extend the life of your Moka pot but also play a significant role in the final flavor of your coffee. It’s advisable to wash it immediately after each use to prevent residue accumulation. If you’re unsure how to clean it, here’s how:
- Make sure the Moka pot is completely cool.
- Disassemble the Moka pot.
- Remove the rubber gasket and the filter from the top of the Moka pot.
- Using tap water and a soft cloth, thoroughly wash each part of your Moka pot, including the rubber gasket and the filter you removed. It would be best to clean the coffee spout tube, as it accumulates a lot of residue and dirt.
- The safety valve should also be washed after each use to prevent obstructions due to residue.
- It’s advisable to periodically clean the filter plate with a brush to prevent it from clogging with coffee particles (approximately every 30 uses).
- Allow all parts to dry thoroughly inside and out.
- Reassemble your Moka pot.
➡️ Check out this article for more information: How to Clean a Moka Pot.
Water remains in the boiler after brewing coffee in my moka pot
As mentioned, Moka pots operate with pressure from steam in the water boiler. This steam circulates from the bottom to the top to brew the coffee. However, steam vortices are created inside the boiler before rising to the coffee to reach the correct pressure.
This is because the flat filter doesn’t come into direct contact with the steam; there’s a funnel in between, designed not to touch the bottom of the Moka pot.
For this reason, some water always remains in the Moka pot after the infusion. What’s usually left is water mixed with coffee that has dripped through the funnel. This water in the bottom chamber is perfectly normal and should be discarded once the Moka pot has cooled down.
Note: If too much water is left, we will deal with one of the previously described issues.